Cloudflare add-on for WP Cerber
This optional add-on brings an additional security measure for your WordPress by providing integration with the Cloudflare cloud-based firewall. When enabled, it adds and removes IP addresses blocked by WP Cerber to and from the Cloudflare IP Access Rules continuously. This prevents malicious IP addresses from accessing the entire website at the network level. To use the add-on, you need to have a free or paid Cloudflare account and WP Cerber 9.6.3 or newer.
When to use the Cloudflare add-on
- If you already have a Cloudflare account and use the Cloudflare firewall to protect your website
- If your website permanently suffers numerous cyber attacks and you’d like to reduce the burden on the server
Don’t forget about the following drawbacks: the necessity to delegate the domain to Cloudflare’s nameservers and your SSL certificate to Cloudflare’s webservers; plus, you have to accept the necessity to process your private data and personal data of your customers on Cloudflare’s webservers in unencrypted form.
Warning: this add-on is not recommended for beginners. You can easily lock yourself out or block your users.
How to install the add-on
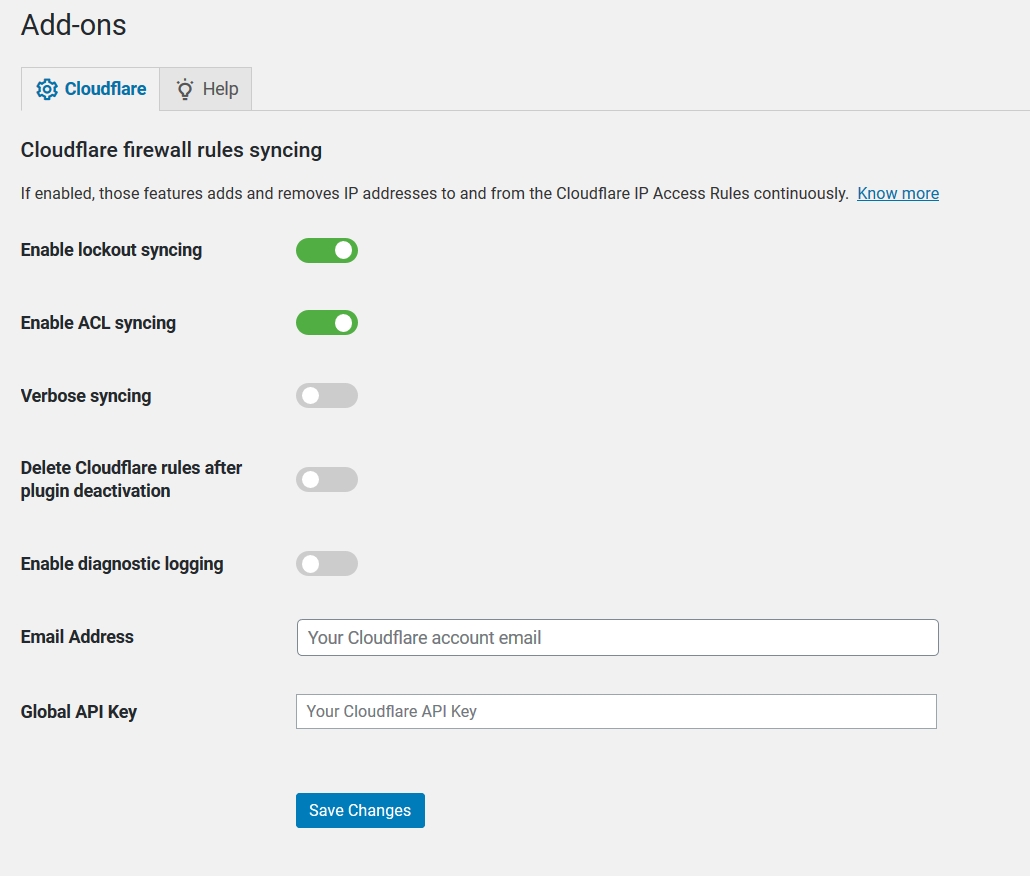
The add-on is a standard WordPress plugin and available to download for free from our website. Follow instructions at the end of this page. Once you’ve activated the plugin, you get the following settings page. By default, all operations are disabled. Note: the add-on requires the WP Cerber setting “Load security engine” set to “Standard mode.”
Syncing IP addresses blocked by WP Cerber
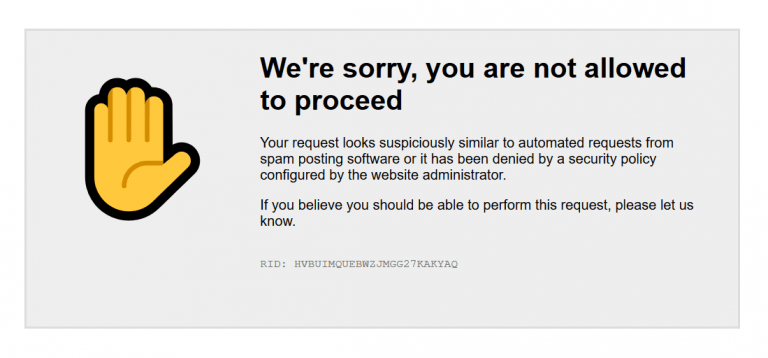
When enabled, the list of locked out IP addresses is continuously monitored, and Cloudflare IP Access Rules are kept in sync with the list. Once an IP address is locked out, it is completely blocked from accessing an entire website because it’s added to the Cloudflare firewall. Without using the add-on, a blocked IP address has read-only access to the website. If you accidentally block your IP address, see the instruction below.
Some lockouts are not synced
In the following cases, locked out IP addresses are not synced and are not blocked by the Cloudflare firewall: a user is logged-in, a remote host produces erroneous requests such as 404 Page Not Found, the limit on login attempts has been reached for the first time, Googlebot requests originating from the googlebot.com domain.
Note: We intentionally do not implement syncing of subnet lockouts. If you use the add-on to sync Cerber’s lockouts, the WP Cerber’s “Block subnet – Always block entire subnet Class C of intruders IP” setting must be disabled.
Syncing IP Access Lists
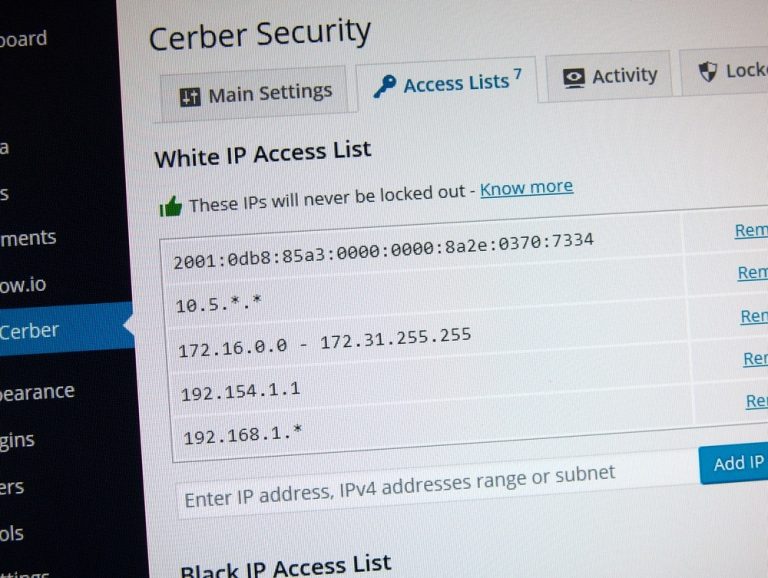
When enabled, all changes in the WP Cerber’s IP Access Lists are one-way synchronized with Cloudflare IP Access Rules. For instance, if you add the 192.168.1.0/24 network to the Black IP Access List, no computers from this network have access to your website. If you accidentally block your IP address, see the instruction below.
The Cloudflare firewall has limited capabilities, though. Keep in mind that unlike WP Cerber, Cloudflare doesn’t support arbitrary IP ranges or CIDR networks. It supports single IP addresses and classful networks only such as A, B, C. So if you add a network other than A, B, or C classes to an access list, the network will not be added to the Cloudflare firewall and remains a local entry fully processed by WP Cerber.
Note that it’s a one-way synchronization. If you make changes to access rules on the Cloudflare website, Cloudflare does not send them to WP Cerber.
Also note that currently, the add-on doesn’t sync existing entries in the Access Lists that were added/deleted before ACL syncing has been enabled.
Other settings
Verbose syncing
It’s an optional privacy-related feature that enables or disables saving additional information as Cloudflare notes. When enabled, the add-on saves your Access Lists comments and the reason for an IP address lockout to a Cloudflare note. Enable it if you need to precisely identify or search entries by a keyword among the firewall rules on the Cloudflare website. Don’t forget that those notes can be stored on Cloudflare servers for an unknown amount of time.
Delete Cloudflare rules on plugin deactivation
If the Cloudflare add-on or the WP Cerber plugin will be deactivated, all rules that were previously added to the Cloudflare firewall will be deleted. It’s important to understand that once the plugins get activated again, the deleted entries will not be added back.
How to get support
The professional support is provided for our customers only; please see plans and pricing here. If you use the free version of WP Cerber, please serve yourself by using online documentation and how-to manuals. If you come across a technical issue, enable diagnostic logging and check Cerber’s log; it’s located on the Tools / Log tab.
How to unlock yourself
If you accidentally block the IP address of your computer, and so have no access to the website, there are two ways to unlock the IP on Cloudflare:
- Use your mobile device that connected to the Internet with a different IP address (a cellular network instead of Wi-Fi) to log into the website and delete a lockout or an access list entry.
- Log into your account on the Cloudflare website, find the entry with your IP address on the Firewall / Tools page and remove it manually. Hint: get your current IP address on this page: https://wpcerber.com/what-is-my-ip/
How to delete all synced Cloudflare rules
- Enable Delete Cloudflare rules on plugin deactivation
- Deactivate and activate the Cloudflare for WP Cerber Security plugin on the Plugins page
How to install this Cloudflare add-on
The add-on is a standard WordPress plugin and available to download for free from our website, not from the wordpress.org plugin repository. After activating the add-on make sure that the WP Cerber setting “Load security engine” is set to “Standard mode.”
- Download the add-on to your computer: https://downloads.wpcerber.com/plugin/wp-cerber-cloudflare-addon.zip
- Log into your WordPress admin dashboard
- Click the Add New submenu under the Plugins admin menu
- Click the Upload Plugin button that is located next to the page title
- Select the downloaded ZIP archive
- Click the Install Now button
- Click the Activate Plugin button
Next steps that’ll strengthen your WordPress security
- How to protect WordPress effectively: a must-do list
- Turn your WordPress into Fort Knox
- Hardening WordPress with WP Cerber
- Renaming the WordPress plugins folder
- Enable custom login page
Have any questions?
If you have a question regarding WordPress security or WP Cerber, ask it in the comments below or find answers on the community forum.
Spotted a bug or glitch?
We’d love to fix it! Share your bug discoveries with us here: Bug Report.


